Crafting Paper Butterflies: A Step-by-Step Tutorial
Creating paper butterflies is a delightful craft that can brighten up any space or serve as a lovely gift. Whether you’re decorating a room, making greeting cards, or creating a whimsical display, these paper butterflies are both versatile and fun to make. In this tutorial, we’ll guide you through a simple yet elegant method to craft beautiful paper butterflies. This project is suitable for all ages and skill levels, making it a perfect activity for families, classrooms, or solo crafting.
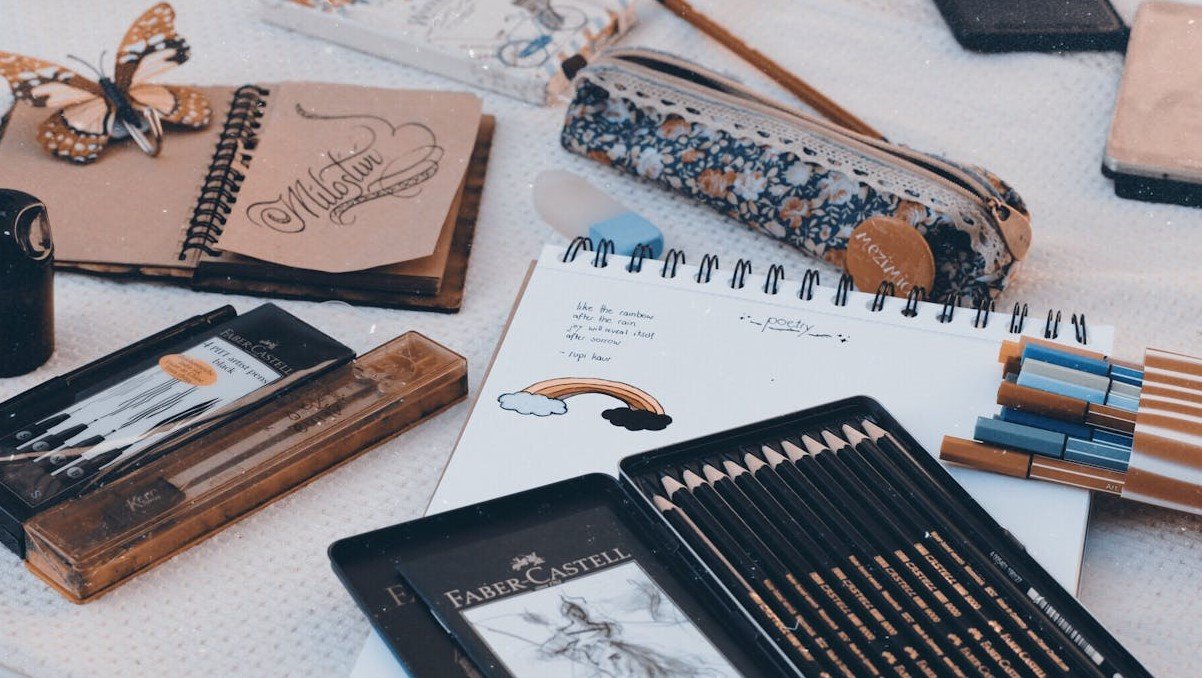
Materials You’ll Need
- Colored or Patterned Paper: Choose paper with vibrant colors or interesting patterns. You can use scrapbook paper, construction paper, or even old magazines for a unique touch.
- Scissors: For cutting out your butterfly shapes. A pair of precision scissors can help with intricate designs.
- Glue or Double-Sided Tape: To attach your butterflies to surfaces or create 3D effects.
- Markers or Pens: For adding details and decorations to your butterflies.
- Glitter or Sequins (Optional): For a touch of sparkle and glamour.
- Craft Wire or String (Optional): If you want to create hanging butterflies.
Step 1: Prepare Your Paper
Start by selecting the paper you want to use for your butterflies. The choice of paper can greatly impact the final look of your butterflies. For a classic look, you might choose a single color or pattern. For a more dynamic effect, consider using paper with multiple colors or designs.
Tip: If you’re using paper with a strong pattern, keep in mind that simpler butterfly shapes might better showcase the pattern.
Step 2: Create Your Butterfly Template
Draw the Butterfly Shape:
- Begin by drawing a simple butterfly shape on your paper. You can sketch it freehand or use a template. To make a template, draw a butterfly on a piece of cardboard or sturdy paper, cut it out, and use it as a stencil.
- If you want symmetrical butterflies, fold the paper in half before drawing and cutting out the shape. This way, when you unfold the paper, you’ll have a perfectly symmetrical butterfly.
Cut Out the Butterfly Shape:
- Carefully cut along the outline of your butterfly. If you’ve folded the paper, cut along the folded edge to ensure symmetry.
- For more intricate designs, you might need to use precision scissors or even a craft knife for finer details.
Step 3: Add Decorative Details
-
Decorate the Wings:
- Use markers, pens, or even paint to add patterns, designs, or details to your butterfly. You can draw lines, dots, or swirls to make the wings more interesting.
- If you’re feeling creative, you can also use glitter or sequins to add a sparkling effect to the wings. Simply apply a small amount of glue where you want the glitter to stick, then sprinkle it on.
-
Create 3D Effects:
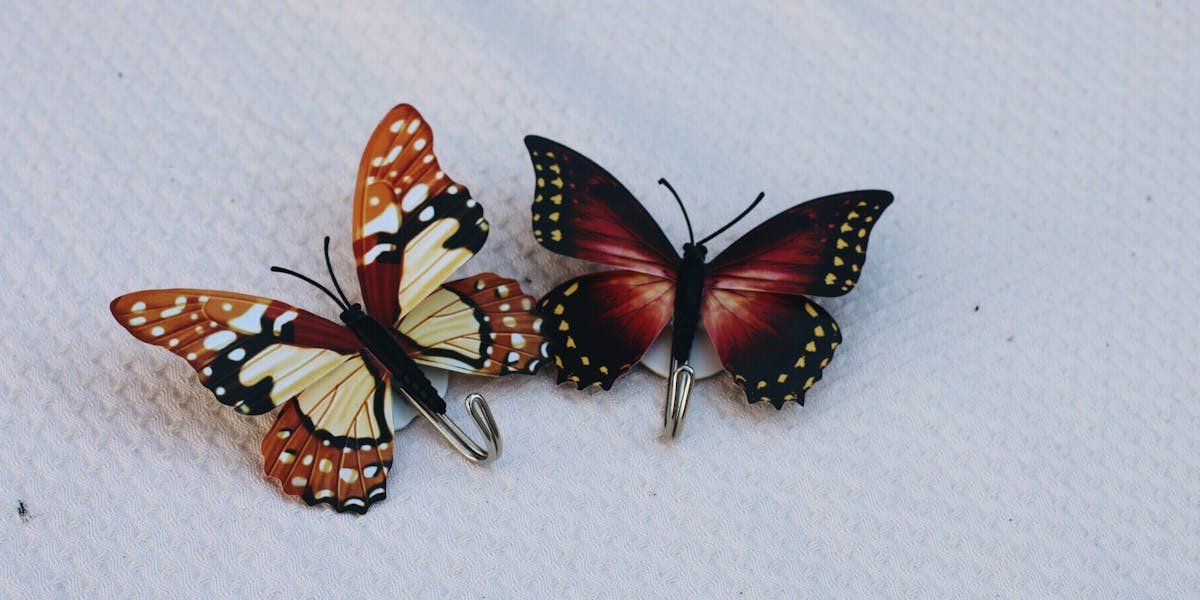
- To give your butterfly a more realistic, 3D effect, gently fold the wings upwards in the middle. This can be done by pinching the center of each wing between your fingers and creasing slightly.
-
Step 4: Assemble Your Butterfly
Attach the Body:
- For a simple flat butterfly, you can skip this step. However, if you want a more detailed look, you can create a small body for your butterfly using another piece of paper. Roll a small strip of paper into a cylinder and glue it to the center of your butterfly’s body.
- You can also use craft wire to make an antennae. Cut two small pieces of wire, curl them into loops or spirals, and glue them to the top of the butterfly’s body.
-
Create a Hanging Butterfly (Optional):
- If you want to hang your butterfly, glue a small piece of craft wire or string to the top of the butterfly’s body. This allows you to hang it from a ceiling or attach it to a mobile or garland.
-
Step 5: Display and Enjoy
-
Decorate Your Space:
- You can arrange multiple butterflies on a wall or window for a stunning visual display. Use double-sided tape or tacky glue to stick them in place.
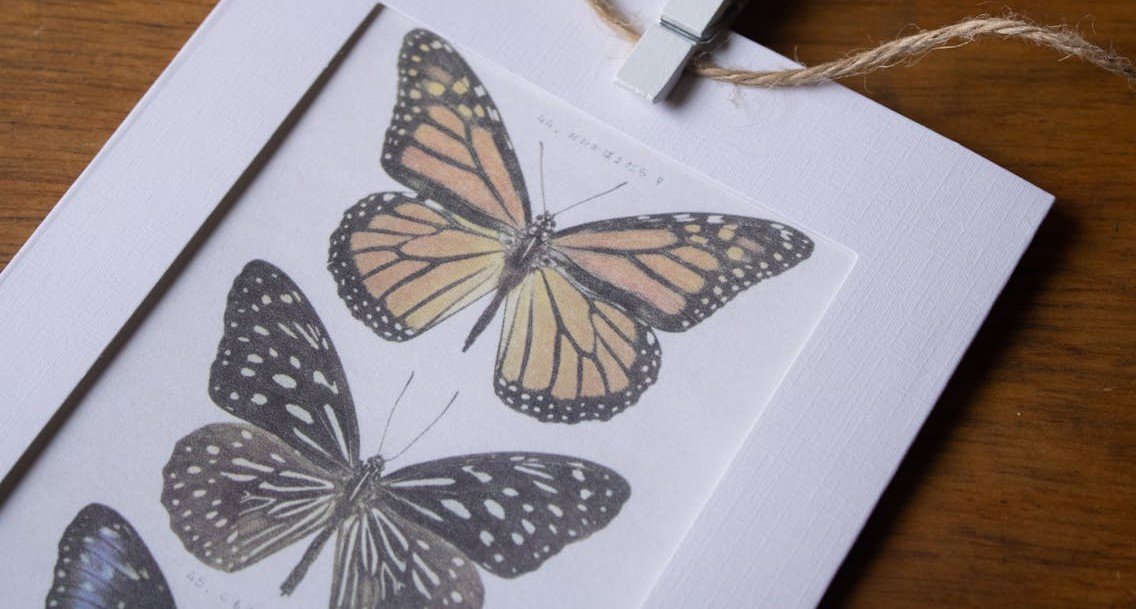
- For a playful touch, you can attach butterflies to gift packages or use them to adorn homemade greeting cards.
-
Create a Butterfly Mobile:
- If you’ve made several hanging butterflies, consider creating a mobile. Simply tie each butterfly to a piece of string and attach them to a circular frame. Hang the mobile in a room for a whimsical and dynamic decoration.
-
Make a Butterfly Garland:
- String multiple butterflies together to create a garland. Attach them evenly along a length of string or ribbon and hang the garland across a mantel, doorway, or window.
-
Additional Tips
- Experiment with Paper Types: Try using different types of paper, such as vellum or metallic paper, for varied textures and effects.
- Personalize Your Butterflies: Add names, initials, or special messages to your butterflies for personalized gifts or decorations.
- Mix and Match Sizes: Create butterflies in various sizes to add depth and interest to your display.
- Crafting paper butterflies is not only a creative way to spend your time but also a wonderful opportunity to add a personal touch to your home decor or gifts. With just a few materials and a bit of imagination, you can create beautiful, unique butterflies that bring joy and elegance to any setting. Happy crafting!