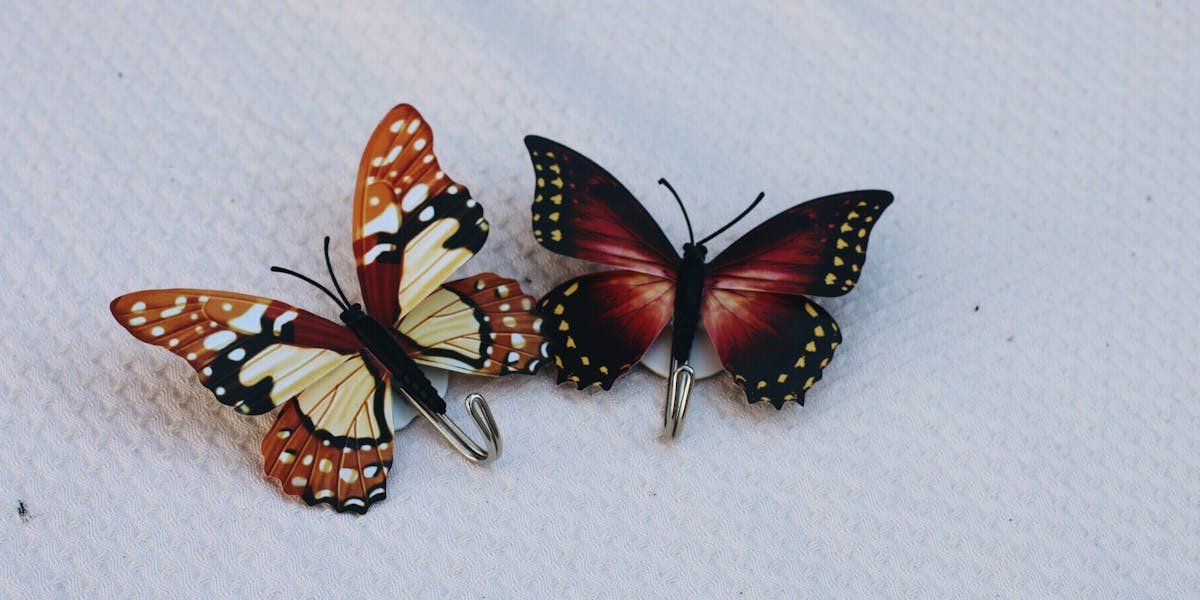
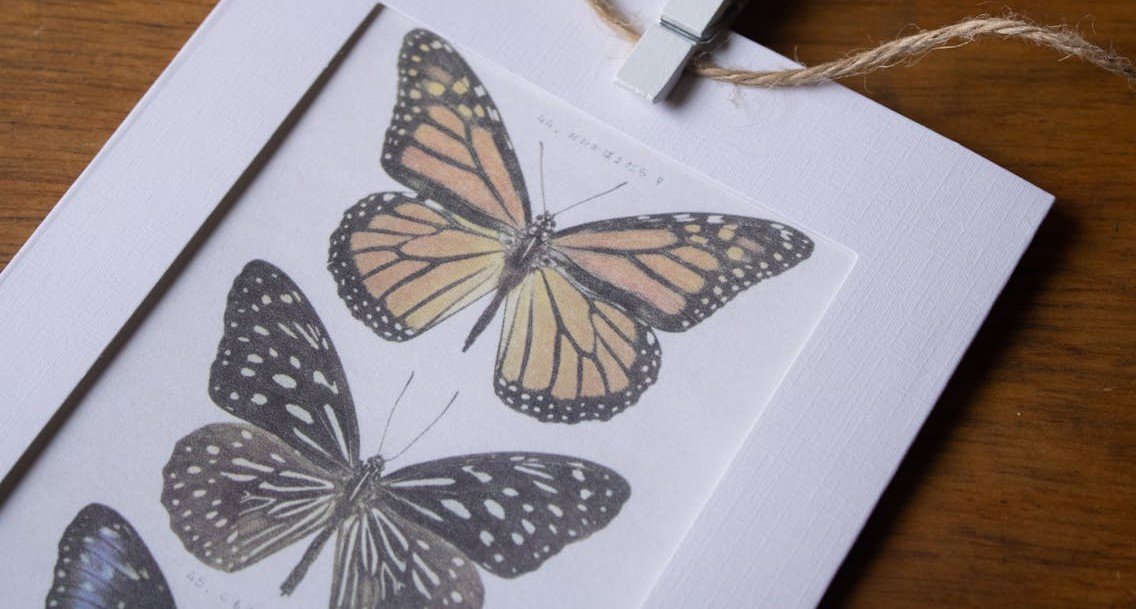
Tissue paper butterflies are a delightful and vibrant craft that brings the beauty of nature into your home while engaging your child’s creativity. This craft is perfect for kids of all ages, offering a fun and easy way to explore colors, textures, and patterns. Whether you’re looking for a rainy day activity or a project to complement a lesson about insects, making tissue paper butterflies is a wonderful way to spend creative time together. In this post, we’ll guide you through the process of making these colorful butterflies, share tips for success, and explore creative variations to inspire your next crafting session.
Why Tissue Paper Butterflies?
Tissue paper butterflies are more than just a fun craft; they’re also an educational activity. As children select colors, cut shapes, and assemble their butterflies, they’re developing important skills like fine motor coordination, color recognition, and spatial awareness. This craft also encourages creative thinking as kids experiment with different color combinations and designs.
Beyond the educational benefits, tissue paper butterflies are simply a joy to make. The soft, delicate texture of tissue paper mimics the fragility of real butterfly wings, and the bright, translucent colors add a touch of magic to the finished product. These butterflies can be used in various ways: as decorations for a bedroom or classroom, as part of a nature-themed mobile, or even as gifts for friends and family.
Materials Needed:
Tissue paper in various colors
Pipe cleaners (chenille stems)
Scissors
Clothespins (optional)
Markers or crayons (optional for decorating)
Glue (optional)
Step-by-Step Guide to Making Tissue Paper Butterflies
- Choose and Cut the Tissue Paper: Start by selecting a few sheets of tissue paper in different colors. You can use pre-cut tissue paper squares or cut your own. Each butterfly will need two squares of tissue paper, each about 6×6 inches. For a more intricate design, you can use multiple layers of tissue paper in varying sizes.
- Layer the Tissue Paper: Place the two squares of tissue paper on top of each other. You can choose two different colors or stick with one for a more uniform look. Align the edges so that the squares are stacked neatly.
- Create the Butterfly Wings: To form the wings, accordion-fold the stacked tissue paper squares. Start at one edge and make small, even folds (about ½ inch wide) until you reach the other side. The result should be a narrow strip of folded tissue paper.
- Secure the Butterfly’s Body: Take a pipe cleaner and fold it in half. Place the folded tissue paper in the middle of the pipe cleaner, where it bends. Twist the pipe cleaner tightly around the center of the folded tissue paper to hold it in place, leaving the ends of the pipe cleaner free. These ends will become the butterfly’s antennae.
- Shape the Antennae: Curl the ends of the pipe cleaner to create the butterfly’s antennae. You can use your fingers to twist the ends into small loops or spirals. This adds a whimsical touch to your butterfly.
- Fluff the Wings: Gently separate and spread out the layers of tissue paper to create the butterfly’s wings. Be careful not to tear the delicate tissue paper. Fluffing the layers will give the wings a fuller, more lifelike appearance.
- Decorate (Optional): If you’d like, you can use markers, crayons, or glue to add extra decorations to the butterfly. Draw patterns on the wings, add a little glitter, or glue on some small sequins or beads for added sparkle.
- Display Your Butterfly: Your tissue paper butterfly is now complete! You can display it by attaching it to a string and hanging it from the ceiling, clipping it to a piece of string as part of a garland, or simply placing it on a shelf or table as a colorful decoration.
Tips for Success:
Experiment with Sizes: Try making butterflies in different sizes by using larger or smaller squares of tissue paper. Larger butterflies can be more dramatic, while smaller ones are perfect for creating a whole swarm!
Use Multiple Colors: Don’t be afraid to mix and match colors. Layering different shades or even contrasting colors can create stunning results.
Try Different Textures: For an extra special touch, use patterned or metallic tissue paper. The different textures can add an interesting element to your butterflies.
Creative Variations:
Clothespin Butterflies: Instead of a pipe cleaner, you can use a clothespin to create the body of the butterfly. Simply clip the clothespin in the center of the folded tissue paper and decorate it with markers or paint. This variation is especially sturdy and great for younger children.
Butterfly Garland: Make several tissue paper butterflies and string them together to create a beautiful garland. This is perfect for decorating a room or for special occasions like birthday parties or springtime celebrations.
Butterfly Mobile: Attach your tissue paper butterflies to different lengths of string and hang them from a hoop or a stick to create a mobile. This is a lovely way to bring a bit of nature indoors and makes a charming decoration for a nursery or playroom.
Conclusion
Tissue paper butterflies are a delightful craft that combines the beauty of nature with the joy of creativity. Whether you’re making them as part of a lesson on insects, to decorate a space, or simply for the fun of it, these butterflies are sure to bring smiles and brighten any room. So gather your materials, let your imagination take flight, and create some beautiful tissue paper butterflies that will flutter their way into your heart.


