Getting into nail art can be fun and rewarding, even if you’re a beginner. With just a few basic tools and a bit of creativity, you can create stunning nail designs at home. In this tutorial, we’ll cover some easy and trendy nail art ideas that anyone can master. These designs are perfect for everyday wear or special occasions, and they require minimal tools and effort.
1. Classic French Manicure

What You’ll Need:
Base coat
Nude or light pink nail polish
White nail polish
Top coat
Nail striping tape or stickers (optional)
Steps
Prepare Your Nails: Start by applying a base coat to protect your nails and help the polish last longer. Let it dry completely.
Apply the Base Color: Paint your nails with a nude or light pink polish. This will be the base color of your French manicure. Apply one or two coats, allowing each to dry before applying the next.
Create the White Tips:
If you’re confident, you can freehand the white tips by carefully painting the ends of your nails with white polish.
For a more precise look, use nail striping tape or French manicure stickers to guide your white polish application.
Apply the white polish only to the tips, and remove any tape or stickers carefully before the polish dries.
Seal with Top Coat: Once the white tips are dry, apply a top coat to seal your manicure and add shine.
Tips:
If you make a mistake with the white tips, use a small brush dipped in nail polish remover to clean up the edges.
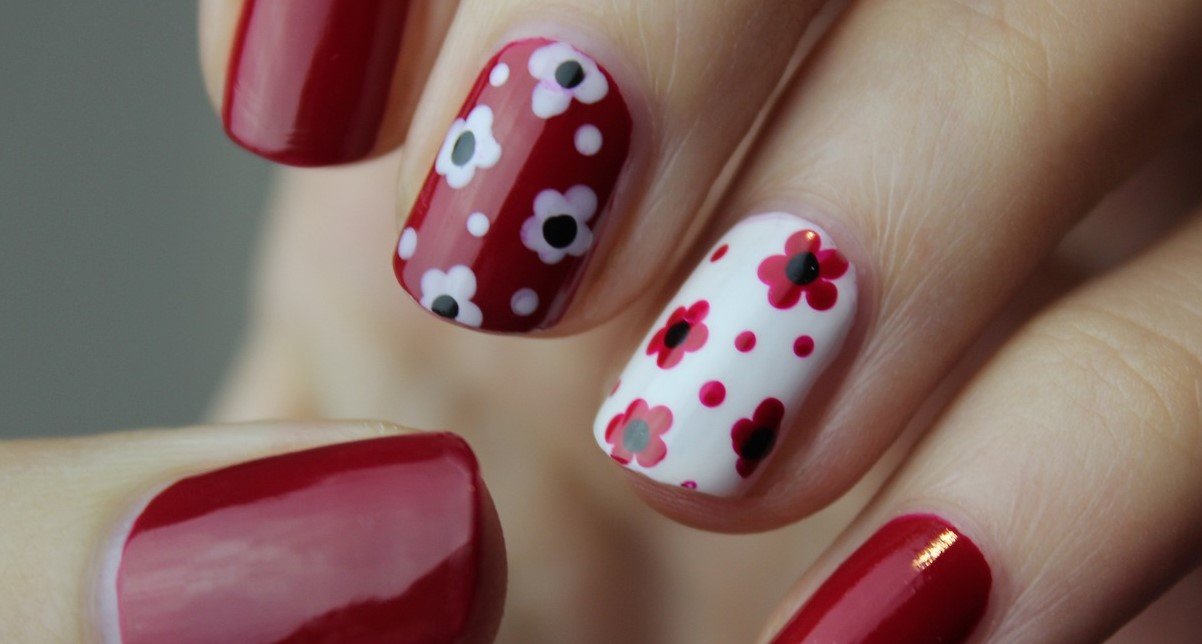
2. Polka Dot Nails
What You’ll Need:
Base coat
Any color nail polish (light colors work best)
Dotting tool (or a bobby pin/toothpick)
Top coat
Steps:
Apply the Base Coat: Start by applying a base coat to your nails to prevent staining and help your manicure last.
Paint Your Nails: Choose a light color for your base, like white, pastel pink, or light blue, and paint your nails. Apply two coats for an opaque finish, and let them dry completely.
Create the Polka Dots:
Dip the tip of a dotting tool, bobby pin, or toothpick into a contrasting color of nail polish.
Gently press the tool onto your nail to create dots. You can make them evenly spaced or random, depending on your preference.
Repeat on all nails, allowing the dots to dry before moving on to the next step.
Top Coat: Finish with a top coat to seal in your design and add a glossy finish.
Tips:
Experiment with different dot sizes by using various tools. A bobby pin makes medium dots, while a toothpick creates smaller ones.
3. Glitter Gradient Nails

What You’ll Need:
Base coat
Nail polish in your choice of color
Glitter polish or loose glitter
Makeup sponge
Top coat
Steps:
Base Coat: Start with a base coat to protect your nails.
Apply Base Color: Paint your nails with a color of your choice. Lighter shades work well with glitter gradients. Let the polish dry completely.
Create the Gradient:
Apply glitter polish or dip a makeup sponge into loose glitter.
Dab the sponge onto the tips of your nails, gradually working down towards the middle to create a gradient effect.
Repeat the dabbing process until you achieve the desired glitter intensity.
Top Coat: Once the glitter is dry, apply a generous layer of top coat to smooth the texture and add shine.
Tips:
If you’re using loose glitter, make sure to press it into the wet polish with the sponge for better adherence.
4. Accent Nail Design

What You’ll Need:
Base coat
Two different colors of nail polish
Tape or nail striping tape
Top coat
Steps:
Prepare Your Nails: Apply a base coat to protect your nails.
Paint Your Nails: Choose one color to paint all your nails except for your ring finger. This will be your accent nail. Apply two coats and let them dry.
Create the Accent Nail:
On your ring finger, apply a different color nail polish. Let it dry completely.
For a simple geometric design, use tape or striping tape to create a triangle, stripe, or any pattern you like on the accent nail.
Paint over the tape with the first color, then carefully remove the tape while the polish is still wet.
Finish with a Top Coat: Seal your design with a top coat for a long-lasting finish.
Tips:
Experiment with different color combinations and patterns for a unique look.
5. Simple Stripes

What You’ll Need:
Base coat
Nail polish in two different colors
Nail striping tape or thin brush
Top coat
Steps:
Base Coat: Start by applying a base coat.
Apply Base Color: Paint your nails with one of your chosen colors. Let it dry completely.
Add Stripes:
Once the base color is dry, use nail striping tape to create straight lines on your nails.
Paint over the tape with the second color and carefully remove the tape to reveal the stripes.
Top Coat: Apply a top coat to protect your design and add shine.
Tips:
For a more creative look, vary the thickness and direction of the stripes.
These easy nail art tutorials are perfect for beginners and can be customized with different colors and patterns to suit your style. Whether you’re getting ready for a special event or just want to add a bit of flair to your everyday look, these designs will make your nails stand out. Happy painting!
Conclusion
If you’ve enjoyed these Easy Nail Tutorials, why not give them a try and see how creative you can get with your nail designs? These simple, step-by-step guides are perfect for transforming your nails into beautiful works of art, even if you’re just starting out. With minimal tools and effort, you can achieve stunning results that will impress everyone. So, go ahead and experiment with these fun and easy nail art ideas—your nails will thank you!
“Read our article about makeup.”