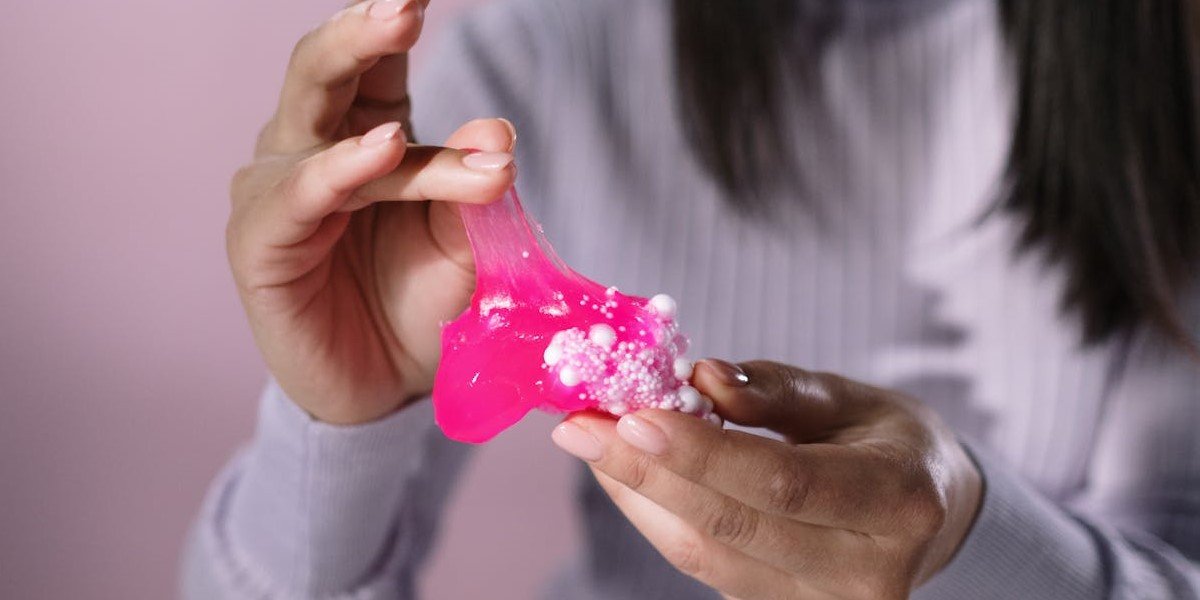
Slime is more than just a squishy, stretchy, and colorful plaything; it’s a hands-on science experiment that captivates children while teaching them about chemistry, creativity, and problem-solving. Making slime at home is an excellent project for kids of all ages. Not only does it allow them to engage in a tactile and sensory experience, but it also introduces them to basic scientific concepts in a fun and interactive way. In this post, we’ll explore how to make slime, the science behind it, and ways to customize the experience for different age groups.

How to make Slime
Ingredients
Instructions
- Pour the Glue: Empty the entire bottle of glue into a mixing bowl.
- Add Baking Soda: Mix in the baking soda. This helps to firm up the slime.
- Add Food Coloring: If you want colored slime, add a few drops of food coloring and mix well.
- Add Contact Lens Solution: Slowly add the contact lens solution while stirring. The mixture will start to come together and form slime.
- Knead the Slime: Once the mixture starts to come together, use your hands to knead the slime. It might be sticky at first, but keep kneading until it becomes less sticky and more stretchy.
- Add Glitter (Optional): If you want sparkly slime, knead in some glitter
Why Slime-Making is a Great Project for Kids
Slime-making is a project that combines play with learning. Here are some of the key benefits:
Hands-On Learning: Kids get to mix, measure, and observe how different ingredients react with each other. This practical approach reinforces scientific concepts.
Sensory Experience: The texture, color, and movement of slime provide a rich sensory experience, which is especially beneficial for younger children.
Creativity: Slime can be customized in countless ways, allowing kids to experiment with colors, textures, and add-ins like glitter or beads. This fosters creativity and imagination.
Problem-Solving: If the slime is too sticky, too hard, or too runny, kids can troubleshoot by adjusting the ingredients. This teaches resilience and problem-solving skills.
Fun and Engagement: Most importantly, slime-making is incredibly fun. It’s a great way to keep kids engaged and entertained for hours.
How to Make Slime: A Step-by-Step Guide
Materials Needed:
White school glue (4 o bottle)
Baking soda (1/2 teaspoon)
Contact lens solution (1 tablespoon)
Food coloring (optional, for adding color)
Glitter, beads, or other decorations (optional, for extra fun)
Mixing bowl
Spoon or spatula
Instructions:
Pour the Glue: Start by pouring the entire bottle of white school glue into a mixing bowl. This is the base of your slime.
Add Baking Soda: Add 1/2 teaspoon of baking soda to the glue. Stir the mixture until the baking soda is completely dissolved. Baking soda helps to firm up the slime and gives it a thicker texture.
Add Food Coloring: If you want to color your slime, add a few drops of food coloring at this stage. Stir until the color is evenly distributed. You can mix colors to create new shades or stick with a single color.
Add Contact Lens Solution: Add 1 tablespoon of contact lens solution to the glue mixture. Stir slowly, and you’ll notice the mixture starting to come together and become slime. The contact lens solution contains boric acid, which reacts with the glue to create the slime’s stretchy properties.
Knead the Slime: Once the mixture starts to form, use your hands to knead the slime. If it’s still sticky, add a little more contact lens solution and continue kneading until the slime reaches the desired consistency.
Customize Your Slime: Now that your basic slime is ready, you can add glitter, small beads, or other decorations to give it a unique look. This is where kids can really get creative!
Store Your Slime: Store the slime in an airtight container or a resealable plastic bag to keep it from drying out. Properly stored, it can last for several weeks.
The Science Behind Slime
Making slime is more than just play; it’s a simple but effective chemistry lesson. The key scientific process involved in slime-making is called polymerization. Here’s how it works:
Glue: The main ingredient in glue is polyvinyl acetate, a type of polymer. Polymers are long chains of molecules that are flexible and can move past each other.
Baking Soda: Baking soda acts as a buffer in the slime, making the glue solution less acidic and helping the slime maintain its shape.
Contact Lens Solution: The boric acid and sodium borate in contact lens solution act as crosslinking agents. When added to the glue, they link the polymer chains together, causing them to form a more solid and elastic substance—slime.
This chemical reaction is a fun and practical way for kids to learn about the properties of matter, how different substances interact, and the basics of chemical reactions.
Variations and Advanced Slime-Making
Once your kids have mastered the basic slime recipe, there are plenty of ways to mix things up and explore more advanced slime-making techniques:
Glow-in-the-Dark Slime: Add glow-in-the-dark paint or powder to the basic slime recipe to create a slime that glows in the dark. This is perfect for nighttime play or Halloween.
Fluffy Slime: Add shaving cream to the basic slime recipe to create fluffy slime with a marshmallow-like texture. The more shaving cream you add, the fluffier the slime becomes.
Clear Slime: Use clear glue instead of white glue to make transparent slime. This type of slime is perfect for adding colorful beads or glitter, as they will be visible through the slime.
Scented Slime: Add a few drops of essential oil or scented lotion to your slime to give it a pleasant fragrance. Popular choices include lavender, peppermint, and vanilla.
Magnetic Slime: Mix iron filings into the slime and use a magnet to make it move. This adds an extra layer of scientific exploration, as kids can learn about magnetism while they play.
Safety Tips
While slime-making is generally safe, it’s important to follow some basic safety guidelines:
Supervision: Always supervise younger children during slime-making to ensure they use the ingredients safely and don’t put slime in their mouths.
Skin Sensitivity: Some children may be sensitive to the ingredients in slime, especially the contact lens solution. Encourage kids to wash their hands after playing with slime and discontinue use if any irritation occurs.
Proper Storage: To prevent slime from becoming a sticky mess, store it properly in an airtight container when not in use.
Conclusion
Slime-making is an enjoyable, educational, and creative project that kids of all ages can enjoy. It’s a perfect blend of science, art, and sensory play, making it a versatile activity that can be adapted to suit different interests and skill levels. Whether your child is learning about polymers for the first time or experimenting with new slime variations, this project offers endless opportunities for fun and learning. So gather your materials, roll up your sleeves, and dive into the squishy, stretchy world of slime!